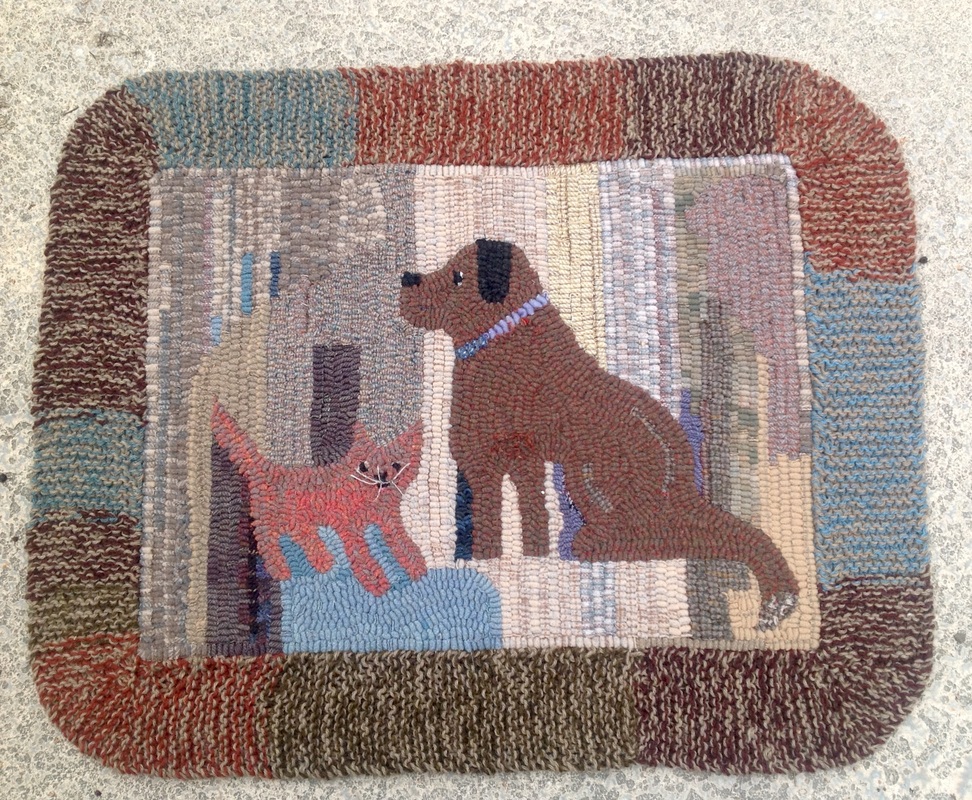
the knitted edge (Stay tuned--this page is being constructed)
Knitting a border for a hooked rug requires basic knitting and sewing skills. If you don't know how to knit, the Internet is full of how-to tutorials and videos. I've linked some sites below, but there are many others--just google knitting. Check these sites out to find what's best for you. I've picked ones that I think are easy to understand.
The basic knitting skills required are: casting on, garter stitch, turning a corner, and casting off.
Note: if you already know how to knit skip these steps and move on to Attaching the knitted border.
The basic knitting skills required are: casting on, garter stitch, turning a corner, and casting off.
Note: if you already know how to knit skip these steps and move on to Attaching the knitted border.
When planning my border I needed to decide how wide I wanted it to be. Through experimentation, I decided on a four inch border using two strands of Cascade 100 % Peruvian Highland Merino wool worsted weight on No. 11 knitting needles. I tried using three strands, but did not like how it looked or felt. If you use smaller needles, you will get a denser pile, which will undoubtedly wear better. Mine is light and very cushy.
These instructions are for a four inch border using 2 strands of worsted weight yarn using size No. 11 needles. If you alter any of these factors, you will need to change the directions accordingly.
Cast on 12 stitches
Row 1. Knit 12 stitches, turn
Row 2. Knit 12 stitches, turn
Continue to knit row 1 and row 2 until your edge is just shy of the first corner. Lay your knitting next to the rug and stop when you get close to the corner. I usually start on the longest side about 3/4 of the way from the corner. I did this for all four corners. When you lay your knitting next to the hooked rug make sure that you are not stretching it. You want it to lie flat. It will get a little cumbersome once you have a few corners completed, but it is worth the effort to get each side the correct length.
Turning the corner
There are different methods for turning corners and I used a short row method for a rounded corner. I'm including links to a knitting blog that explains the dynamics of what is happening--it helped me picture what I was doing. The corners may also be squared or even mitered using other methods.

